
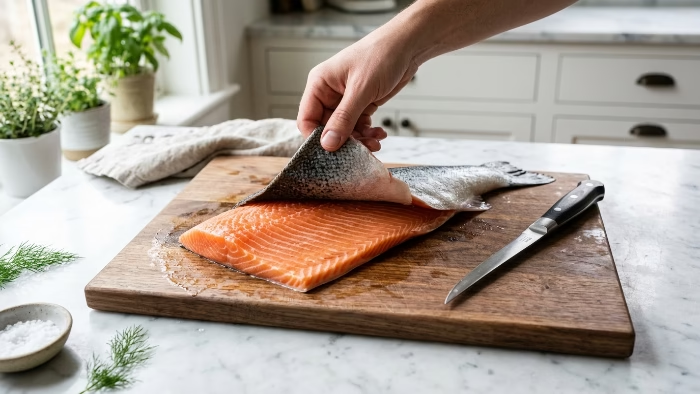
Removing salmon skin looks intimidating — but once you know the trick, it takes under 60 seconds and you’ll never waste a flake of fish again. This guide shows you the three foolproof methods professional cooks use: the knife method (for raw fillets), the hot-pan method (the easiest for beginners), and the grill/broiler method (for cooked fillets).
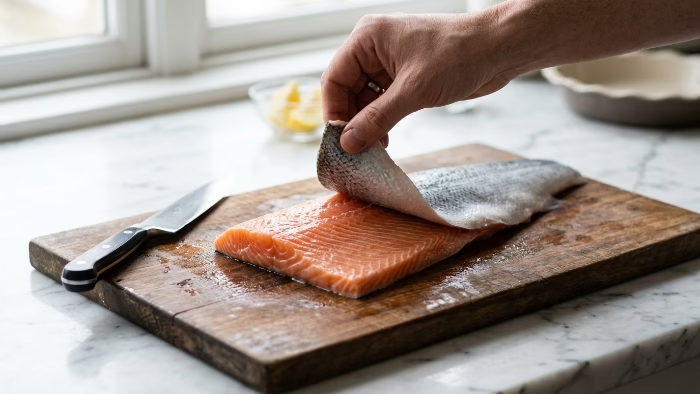
Why Remove the Skin?
You don’t have to remove salmon skin — it’s entirely edible and packed with omega-3s. But you’ll want to remove it when:
- Making salmon burgers or patties (skin gets rubbery when ground)
- Poaching or steaming (skin turns flabby and unappetizing)
- Curing for gravlax (skin prevents even salt penetration)
- Baking skinless fillets for a cleaner presentation
- Feeding kids who dislike the texture
If you’re pan-searing or grilling, keep the skin on — it protects the flesh from drying out and crisps up beautifully.
What You Need
- A sharp, flexible fillet knife or boning knife
- A cutting board with a non-slip mat underneath
- Paper towels (dry skin = safer grip)
- A flat spatula or fish turner (for the hot-pan method)
- Kosher salt (optional, for grip)
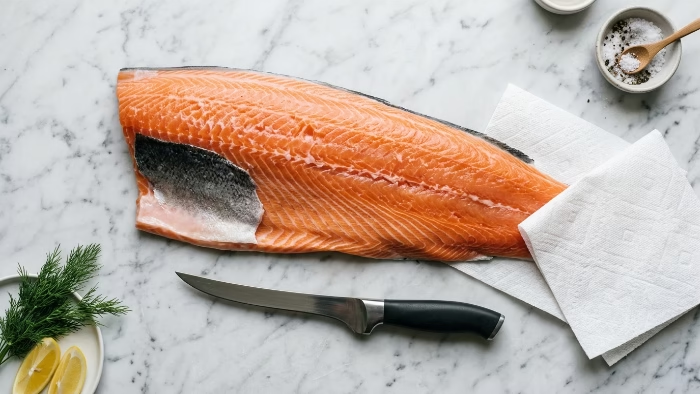
Method 1: Knife Method (Raw Salmon)
See it in action before you try it — this 10-second clip shows exactly how the blade separates the skin from the flesh in one smooth motion.
Best for: Raw fillets you plan to cook skinless, portion, or cure. Difficulty: Medium | Time: 30-60 seconds per fillet
- Pat the salmon completely dry with paper towels. Place the fillet skin-side down on your cutting board, tail end toward your dominant hand.
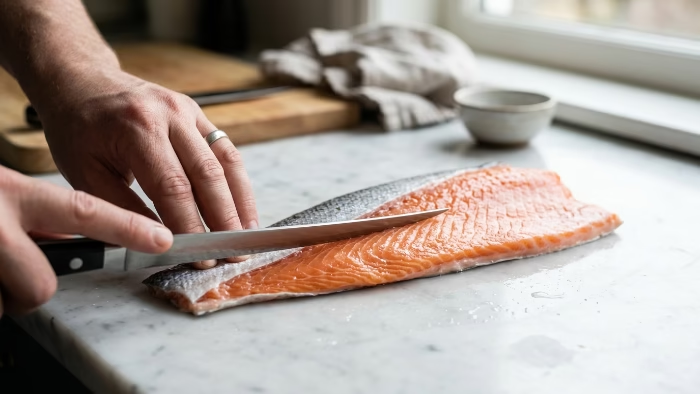
- Make the starting cut. At the tail end, slide your knife between the flesh and skin at a shallow 20° angle, cutting about 1 inch inward.
- Flip the skin to grip it. Pull it taut against the board with your non-dominant hand. Pinch the skin between your thumb and a folded paper towel for grip.
- Glide, don’t saw. With the blade nearly parallel to the board, use long, gentle strokes while pulling the skin toward you.
- Wipe the blade if flesh sticks and reposition. Better to pause than to tear.
- Inspect and clean up. Pull out any pin bones with fish tweezers.
Method 2: Hot-Pan Method (Easiest)
Best for: Beginners, or when you want crispy skin as a separate snack. Difficulty: Easy | Time: 4-5 minutes total
- Pat the salmon dry and season the skin side generously with kosher salt.
- Heat a stainless-steel or cast-iron skillet over medium-high heat. Add 1 tablespoon of oil with a high smoke point.
- Place the salmon skin-side down and press gently with a spatula for 10 seconds to prevent curling.
- Cook undisturbed for 3-4 minutes until the skin is golden and releases easily.
- Flip and cook the flesh side for another 2-3 minutes (125°F/52°C for medium, 145°F/63°C for well-done per USDA).
- To remove the skin: Slide your spatula between the skin and flesh and lift the fillet off.
Method 3: Grill or Broiler (Cooked Salmon)
Best for: Cooked salmon with skin that’s already been grilled or broiled. Difficulty: Easy | Time: 10 seconds
- Transfer the cooked fillet to a plate. Let it rest for 1-2 minutes.
- Slide a thin spatula or butter knife between the skin and flesh at the widest end.
- Gently lift the flesh upward while keeping the spatula flat against the skin.
Pro Tips for Zero Waste
- Always start with the tail end — the flesh thins out there, making the initial cut much easier.
- Chill the salmon for 15 minutes before cutting for firmer, easier-to-handle flesh.
- Use a cutting board with a damp towel underneath to prevent sliding.
- Save trimmings — scrape flesh off the skin and freeze for salmon burgers or fish stock.
- Buy skin-off salmon if you hate the task — most fish counters will remove the skin for free.
What to Do with Salmon Skin
Don’t throw it away! Salmon skin is completely edible and rich in omega-3 fatty acids, vitamin D, and collagen.
- Crispy Salmon Skin Tacos — Cut skin into strips, fry until crisp, and serve in warm tortillas with slaw.
- Salmon Skin Crumble — Bake at 400°F for 12-15 minutes until golden, then crumble over salads or rice bowls.
- Salmon Stock — Simmer skins and bones with aromatics for 30 minutes.
Pro Tips for Zero-Waste Salmon Prep
Chill the fillet for 15 minutes before you start. Cold salmon holds its shape and the flesh stays firm against the knife, which is the single biggest factor in a clean, tear-free release. Warm, room-temperature salmon is soft and slippery and will fall apart no matter how sharp your knife is.
Let the knife do the work, not your hand. Keep the blade nearly flat against the skin and use a gentle sawing motion while your other hand pulls the skin taut and slightly toward you. Pressing down hard just tears the flesh — the skin should peel away almost on its own once the angle is right.
Buy your fillet skin-on even if you plan to remove it. The skin protects the delicate flesh during transport and storage, so it stays fresher longer. Ask your fishmonger to scale it well, then remove the skin yourself right before cooking for the freshest possible result.
Storage & Food Safety
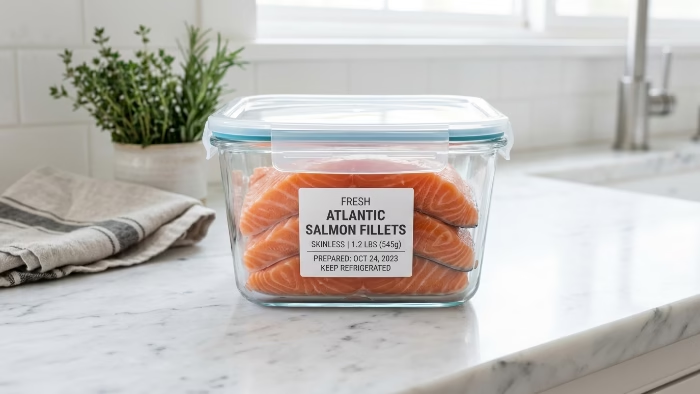
Skinless salmon fillets keep for 1-2 days in the refrigerator, wrapped tightly or in a sealed container with a paper towel underneath to absorb excess moisture. For longer storage, wrap fillets individually in plastic wrap, then foil, and freeze for up to 3 months — label with the date so you don’t lose track. Thaw overnight in the refrigerator rather than at room temperature; the USDA recommends cooking salmon to an internal temperature of 145°F (63°C), or removing it from heat at 125-130°F (52-54°C) for a medium, still-moist center that will continue cooking as it rests.
Don’t throw out the skin you removed — freeze it flat in a labeled bag for up to 2 months and use it later for skin crumble or stock (see above). Once your fillets are skinned, put them to work in recipes like our Crispy Honey Garlic Salmon, Smoky Paprika Baked Salmon, or bite-sized Garlic Butter Salmon Bites — all of which call for skinless fillets.
Frequently Asked Questions
Is it better to remove salmon skin before or after cooking?
For pan-searing, grilling, or roasting: keep the skin on while cooking — remove after. For poaching, curing, or grinding into patties: remove the skin raw.
Can you eat salmon skin?
Yes — salmon skin is safe and nutritious. It’s best when cooked until crispy. Avoid eating raw salmon skin, as it can harbor parasites.
Why does my salmon fall apart when I try to skin it?
Three culprits: (1) a dull knife, (2) cutting at too steep an angle, (3) the fish is too warm. Chill it for 15 minutes before starting.
What’s the best knife for removing salmon skin?
A thin, flexible fillet knife gives you the most control, since it can bend slightly to follow the contour between skin and flesh. A rigid chef’s knife works in a pinch, but you’ll need to angle it more carefully to avoid tearing.
Does the method change for farmed vs. wild salmon?
Not really — the technique is identical. Wild salmon tends to have thinner, firmer flesh, so it separates from the skin slightly more easily. Farmed salmon has a higher fat content, which can make the fillet a bit softer to handle.
Can I freeze salmon skin for later use?
Yes. Pat it dry, lay it flat in a freezer bag, and it will keep for up to 2 months. Thaw it in the fridge before baking into skin crumble or simmering into stock.
Found this guide helpful? Leave a comment and let us know which method worked best for you — your feedback genuinely helps us improve every guide on the site.
The Bottom Line
Removing salmon skin comes down to one thing: a cold fillet, a sharp blade held flat, and patience over force. Pick the knife method for raw fillets headed into patties or gravlax, the hot-pan method if you want a crispy skin snack on the side, or the broiler method when you’re cleaning up an already-cooked piece. Master any one of them and you’ll never waste a flake of salmon — or pay for pre-skinned fillets — again.
Ready to cook? Try your skinless fillets in these honey sriracha salmon bowls, or browse more high-protein meals.
Rate & Review This Recipe