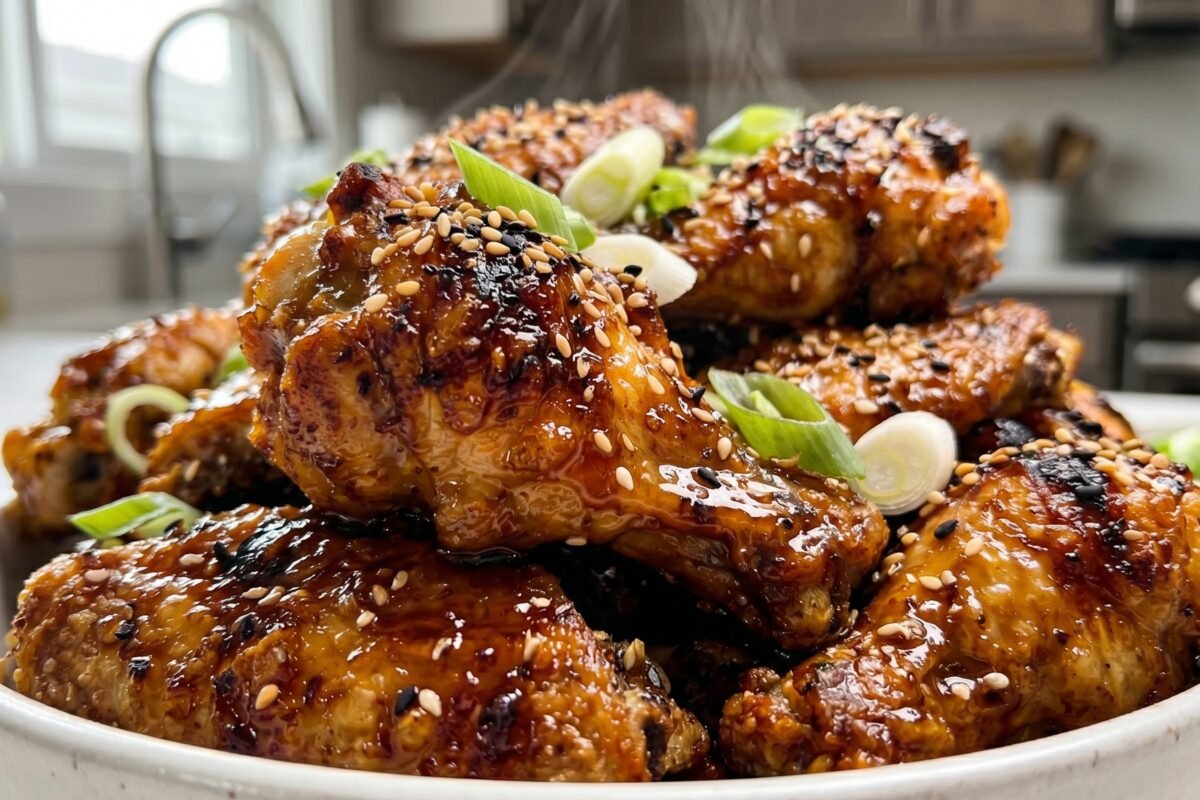
These crispy baked chicken wings are the result of an embarrassing number of weekends spent chasing truly crispy oven wings — one baking-powder trick finally ended the search, with crackly skin and juicy meat and zero deep fryer.
Why This Recipe Works
Baking powder is the crispy secret: tossing the wings in a little baking powder raises the skin’s pH so it browns and blisters in the oven almost like deep-frying.
Completely dry skin: patting the wings bone-dry before seasoning is half the battle — moisture is the enemy of crispiness.
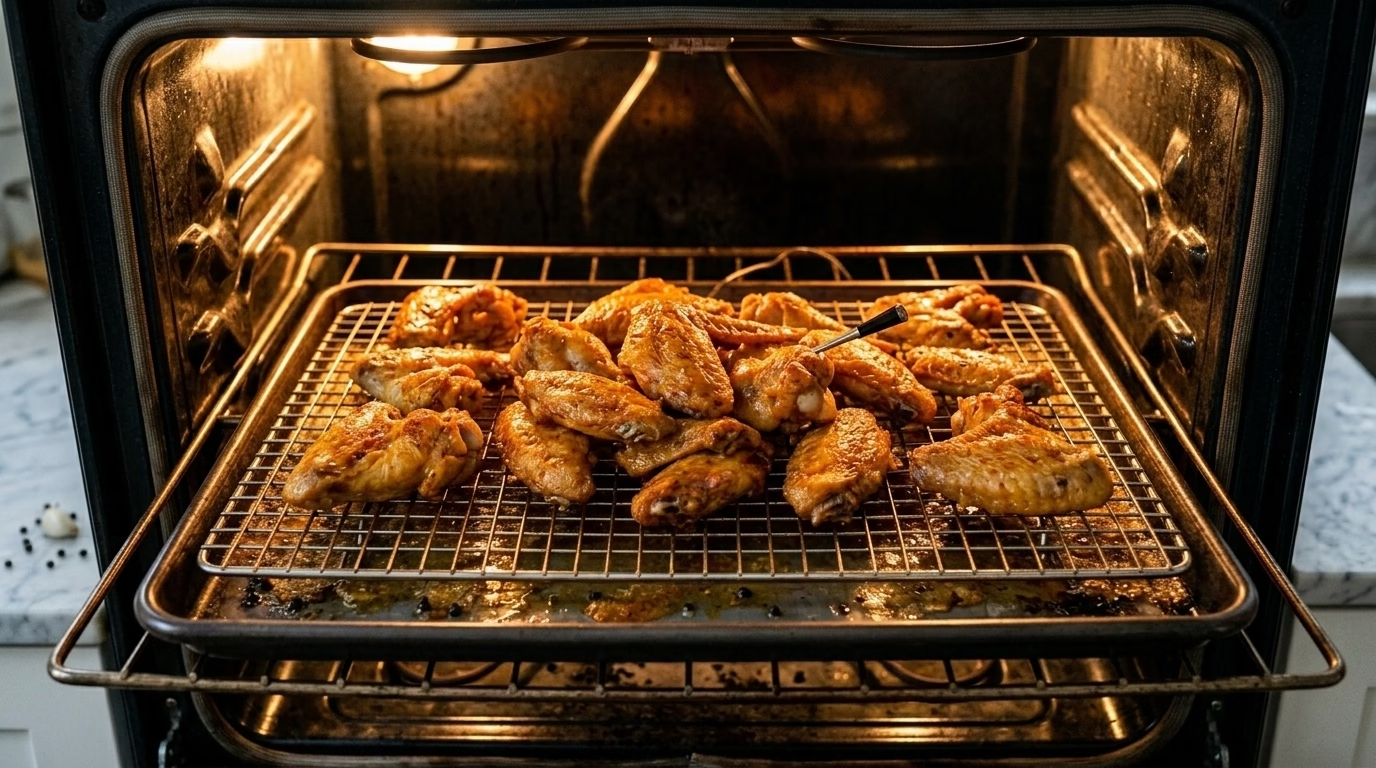
A wire rack, not a sheet pan: lifting the wings lets hot air circulate underneath, so they crisp on all sides without flipping in a puddle of rendered fat.
High heat finish: starting moderate renders the fat, then the hot final stretch blisters the skin to a deep golden crunch.
Ingredient Notes & Substitutions
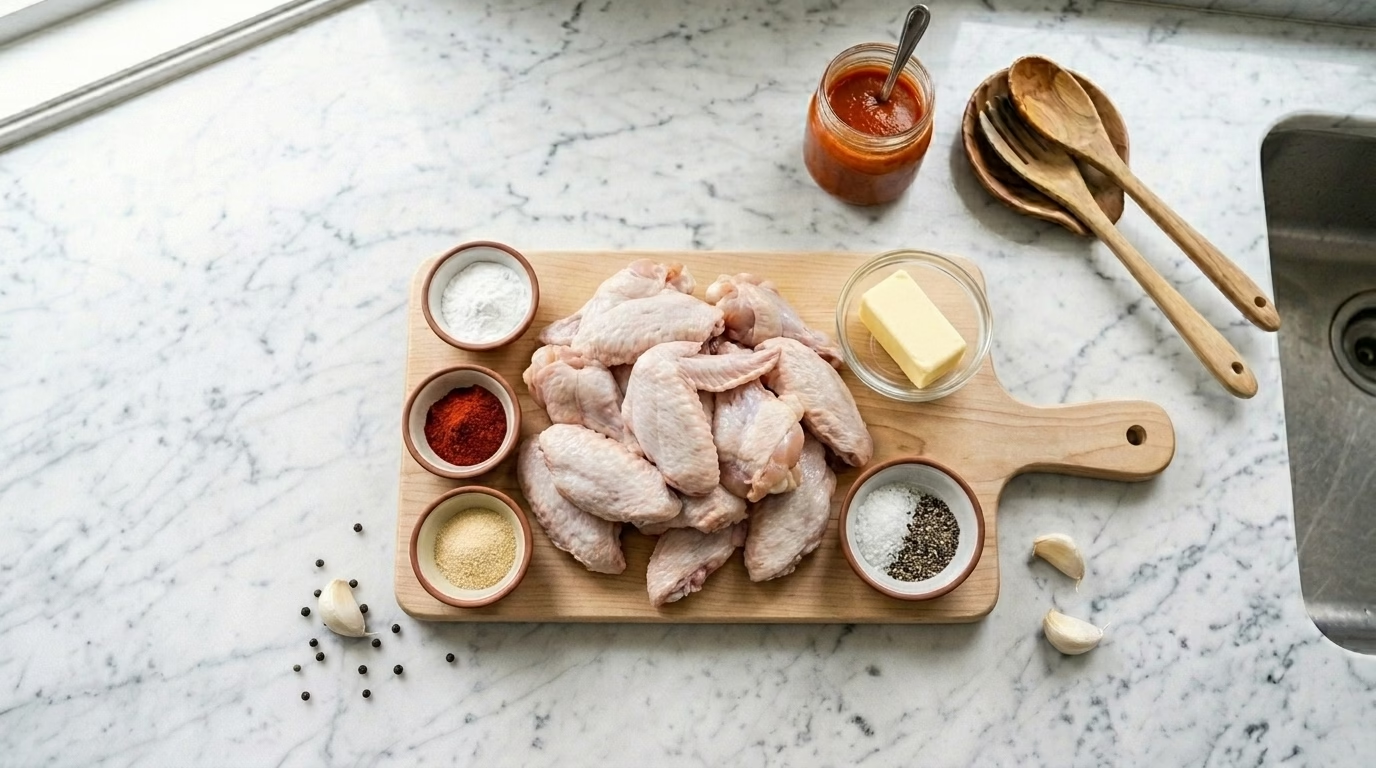
Baking powder: make sure it is aluminum-free baking powder, NOT baking soda — soda leaves a bitter metallic taste you cannot fix.
Chicken wings: split flats and drumettes cook more evenly than whole wings. Frozen wings work if fully thawed and very well dried.
Seasoning: the salt-garlic-paprika base is a canvas. Lemon pepper, cajun, or a honey-garlic toss after baking all work on the same method.
Sauce on the side: toss crispy wings in sauce only right before serving — the longer they sit sauced, the softer the skin gets.
1Pat wings completely dry with paper towels. This is essential — moisture is the enemy of crispiness. Toss in baking powder and all dry seasonings until evenly coated.
2Place on a wire rack set over a foil-lined baking sheet. For extra crispiness, refrigerate uncovered for 30 minutes to 8 hours (the fridge dries the skin further).
3Preheat oven to 250°F / 120°C. Bake wings for 20 minutes at this low temperature — this renders the fat slowly.
4Increase oven to 425°F / 220°C. Bake 40-45 more minutes, flipping wings at the 20-minute mark, until deeply golden and very crispy.
5Meanwhile, make honey garlic sauce: melt butter in a small saucepan, cook garlic 1 minute, add honey, soy sauce, and hot sauce. Simmer 2 minutes. Toss hot wings in the sauce and serve immediately.
Dry the wings twice, not once. Pat them dry the moment you unpack them, then let them sit uncovered on the counter for 10 minutes and pat them dry again — that second pass pulls out surface moisture the first towel missed, and moisture is the single biggest enemy of crispy skin in an oven that isn’t a deep fryer.
Give every wing breathing room on the rack. Wings that touch or overlap trap steam between them, and that steam softens the skin exactly where you need it crispest. If your rack is crowded, split the batch across two pans rather than squeezing them all onto one — a slightly longer bake beats a soggy one.
Rotate the pan halfway through the high-heat stage. Almost every home oven has hot spots, and the wings closest to the back wall or the heating element will brown noticeably faster than the front row. A single 180-degree turn at the 20-minute mark of the high-heat bake evens that out completely.
Chill the seasoned wings uncovered before baking if you have the time. An hour or two — even overnight — in the fridge, uncovered, acts like a dry brine: the cold, dry air pulls residual surface moisture out through evaporation, so the skin goes into the oven already drier than towel-drying alone can achieve. This one step is the difference between “good” and “restaurant-crispy” wings.
Storage & Reheating
Cooked chicken needs to reach an internal temperature of 165°F (74°C) during baking to be food-safe, and it should go into the fridge within two hours of coming out of the oven — don’t let the wings sit out while the rest of dinner finishes.
Refrigerator: Store in an airtight container for up to 4 days. Keep any sauce in a separate container and toss just before reheating — sauced wings lose their crunch fast in the fridge.
Freezer: Baked and fully cooled wings freeze well for up to 3 months in a freezer-safe bag with the air pressed out. Thaw overnight in the refrigerator before reheating; reheating from frozen leaves the inside cold while the outside overcooks.
Reheating: 10–12 minutes at 400°F (200°C) in the oven or air fryer restores the crunch almost completely — spread the wings in a single layer so hot air can circulate around each one. Skip the microwave entirely; it steams the skin soft in seconds and there’s no getting that crispness back.
What to Serve With Crispy Baked Wings
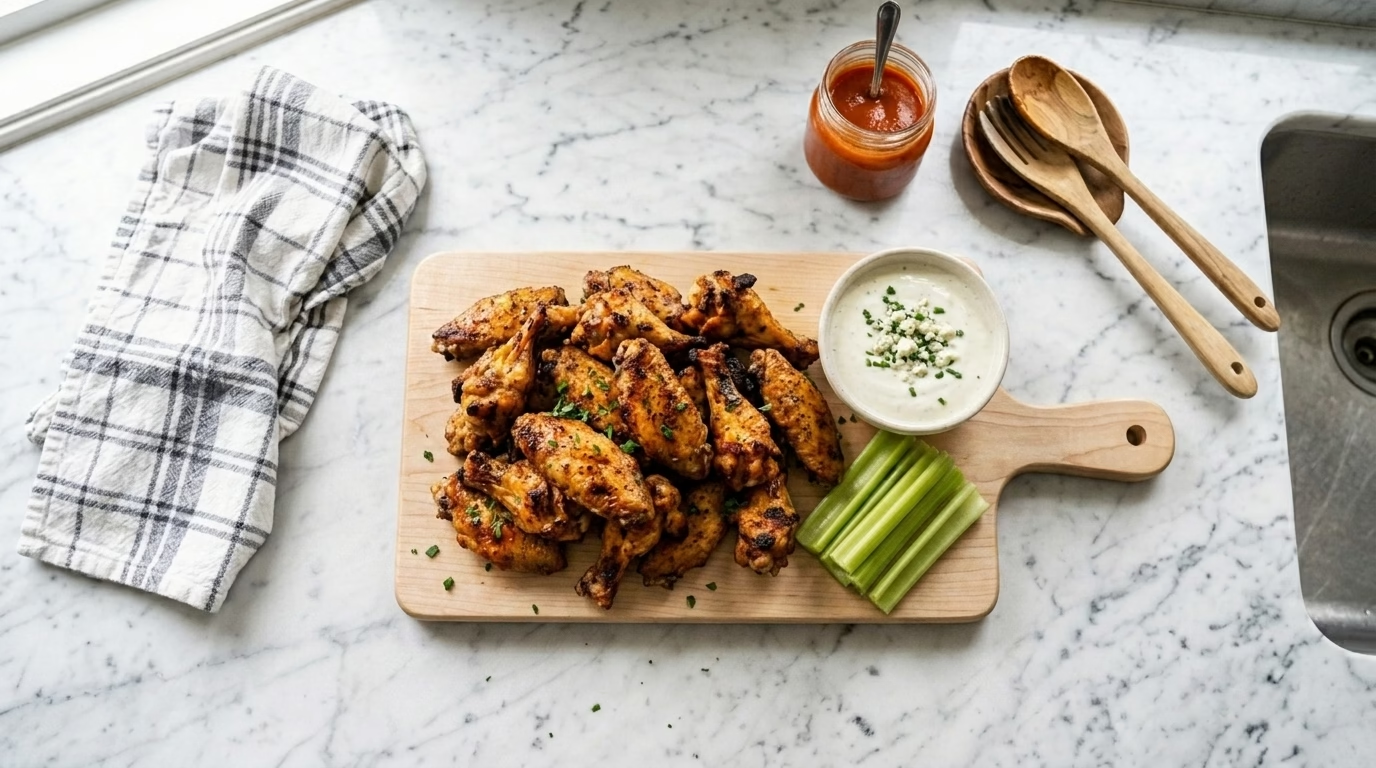
Classic sides: ranch or garlic-yogurt dip, celery sticks, and something fresh to cut the richness. Hosting a bigger spread? Add my Spicy Garlic Butter Shrimp as a second finger food, or balance the table with Lemon Herb Sheet Pan Chicken.
Frequently Asked Questions
Why baking powder and how much?
About 1 tablespoon per 3 pounds of wings, mixed into the dry seasoning. It raises the skin’s pH for browning and draws moisture out — you cannot taste it at that ratio.
Can I make these in an air fryer?
Yes — 380°F (193°C) for 22-25 minutes, shaking the basket twice, then 2-3 minutes at 400°F to finish. Work in batches; crowding kills the crisp.
My wings came out pale and soft. What went wrong?
Almost always one of three things: wet skin, a crowded pan, or skipping the wire rack. Fix those and the method is nearly foolproof.
Can I season the wings the night before?
Please do — salt and baking powder overnight in the fridge (uncovered if possible) gives you the crispiest skin of all.
How do I store and reheat wings so they stay crispy?
Refrigerate up to 3 days, then reheat on a wire rack at 400°F for 8-10 minutes. The oven re-crisps the skin; the microwave undoes all your baking powder work.
What dipping sauces go with baked wings?
Classic ranch or blue cheese, honey garlic for sweetness, or buffalo sauce tossed on right after reheating. These wings are seasoned well enough to stand alone too.
Made this recipe? Leave a comment below and tell me how it went — your feedback genuinely helps me improve every recipe on the site.
The Bottom Line
Crispy baked chicken wings come down to managing moisture at every stage: dry the skin twice before it touches the oven, let the low-and-slow start render the fat undisturbed, and finish hot enough to blister the skin without drying out the meat underneath. The baking powder does real chemistry — raising the skin’s pH so it browns faster — but it only works on skin that’s genuinely dry to begin with. Nail that one detail and you’ll stop reaching for the deep fryer for good.


Rate & Review This Recipe